Event Registration Journey
Event Registration Customer Journey
You are planning a social event. You want people to register online for the event and then receive a welcome Email with the event admission pass attached. Pass should be validated digitally upon attendace. After the event a thank you Email should be sent with an event feedback survey attached. If the survey is submitted then a closure Email should be automatically sent along with a discount voucher for future use (e.g. for a next event).
Event Registration Customer Journey Steps
Create an Event Registration page
A person registers online for the event
Tellody automatically sends her a Welcome Email with the Event Admission pass attached
Event Admission pass is validated at the event entrance with the use of the Tellody App
Tellody automatically sends the subscriber a Thank You Email with an Event Feedback survey attached
Subscriber submits the Event Feedback survey
Tellody automatically her an Closure Email with a discount Voucher for future use
Step 1: Create Services
1. Navigate to the Services page
2. Set up the Event Registration service (see Event Registration)
3. Set up the Event Admission pass (see Event Admission)
4. Set up the Event Feedback survey (See Event Feedback)
5. Set Up the discount Voucher (see Voucher)
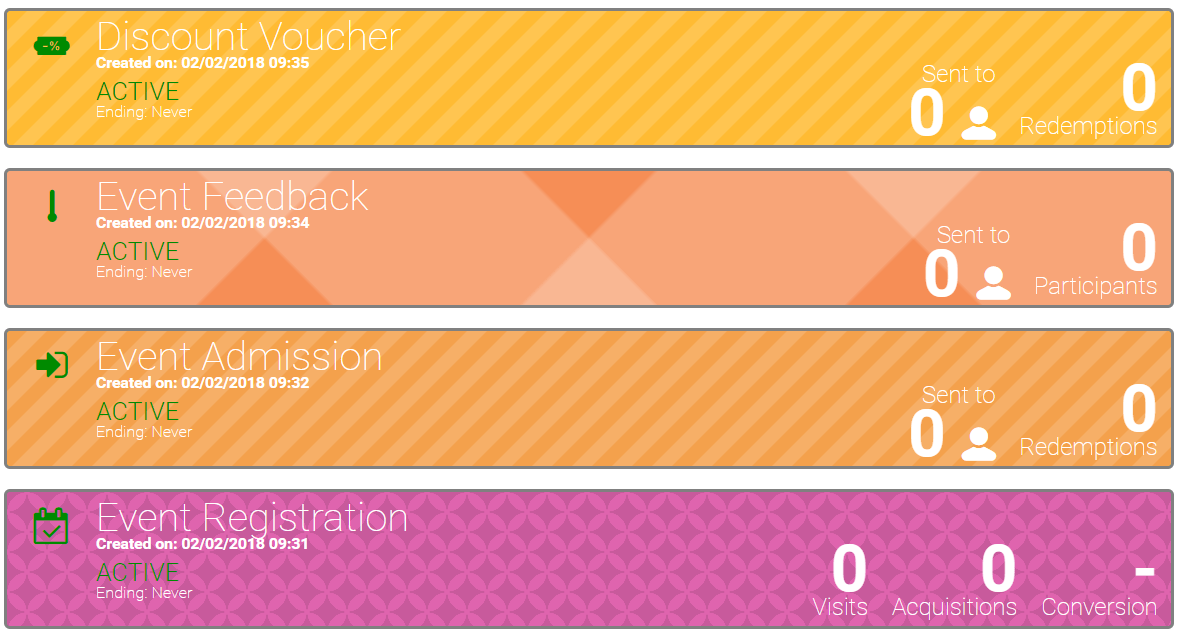
Thus, your Services page will look like this
Step 2: Create Campaigns
You have to set up three Event Email Campaigns
Welcome Email with the Event Admission pass attached
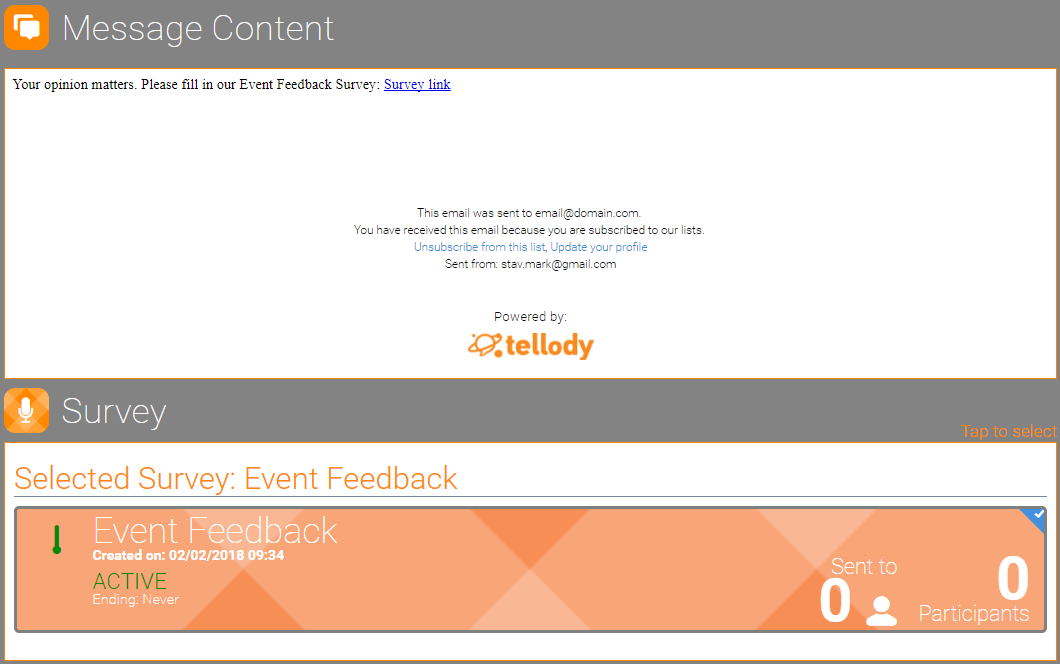
Thank You Email with the Event Feedback survey attached
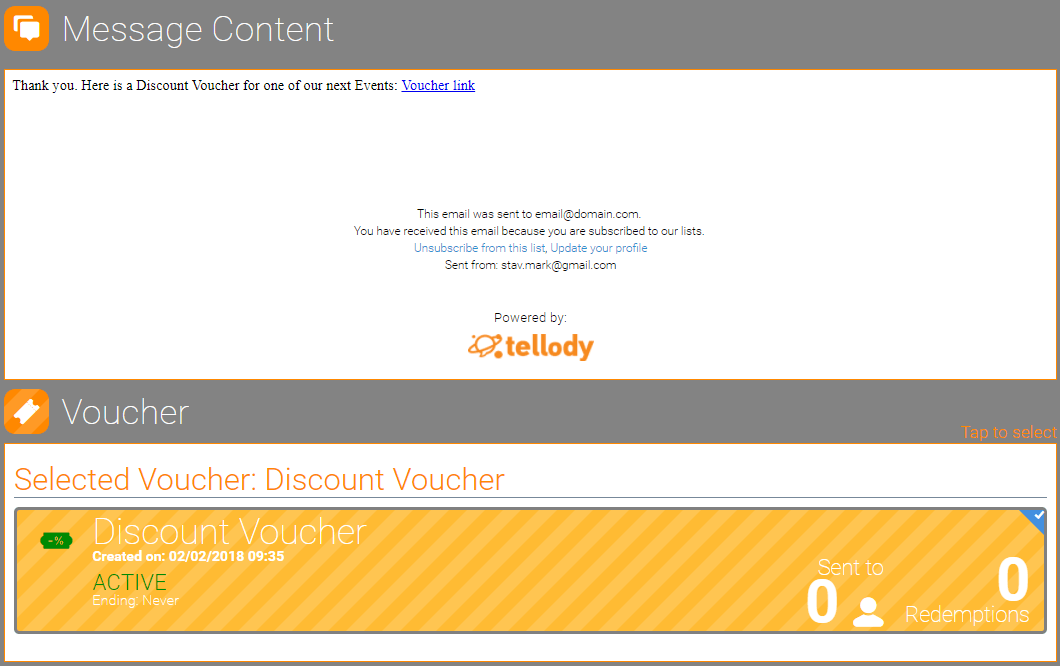
Closure Email with a discount Voucher attached
Set up the Welcome Email
1. Navigate to the Campaigns page
2. Click on the Event Email Campaign tile
and set up the Welcome Email
3. Choose as Contact event the Event Registration service
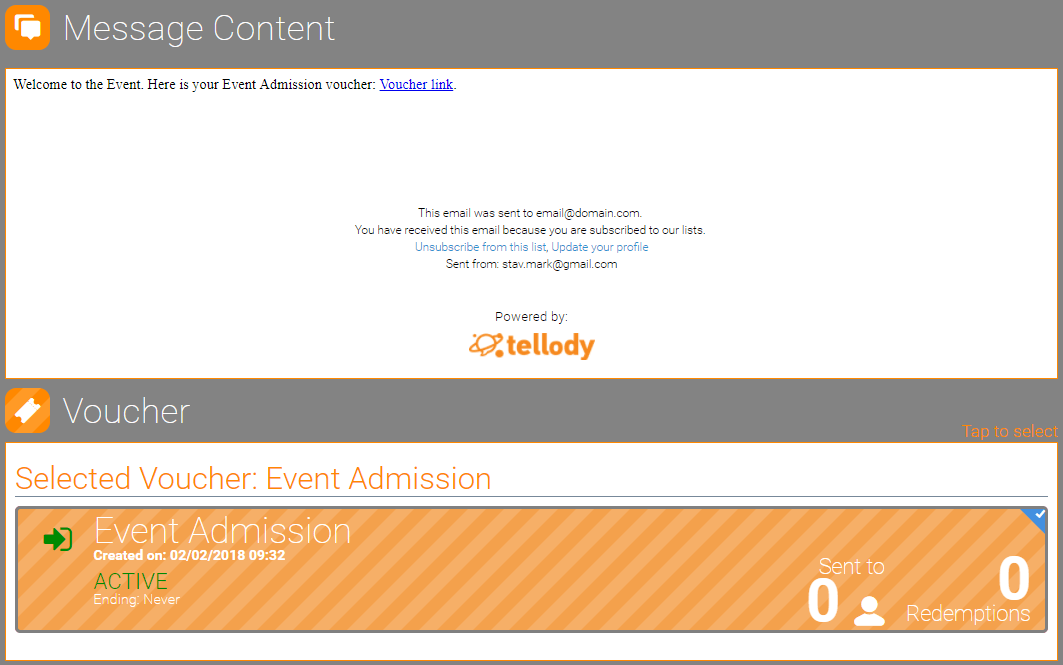
4. Add a Voucher Tag to your message and select the Event Admission pass
As a result upon online registration Tellody will automatically send a Welcome Email with the Event Admission pass attached
5. Create the Campaign
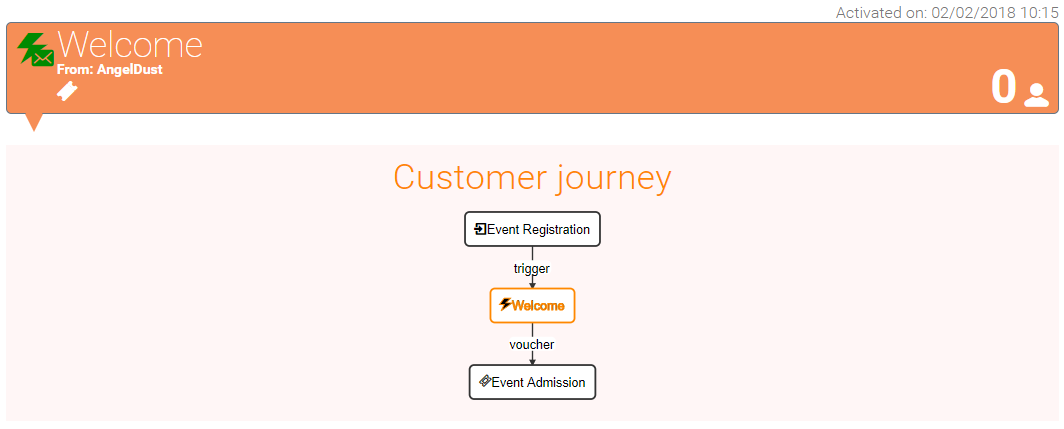
The Welcome Email Campaign Report and the Customer Journey, so far, are the following
Set up the Thank You Email
1. Navigate to the Campaigns page
2. Click on the Event Email Campaign tile
and set up the Thank You Email
3. Choose as Contact event the Event Admission pass
4. Add a Survey Tag to your message and select the Event Feedback survey
As a result when the customer enters the event and her Event Admission pass is validated through the Tellody app, then Tellody automatically sends her the Thank You Email with the Event Feedback survey attached
5. Create the Campaign
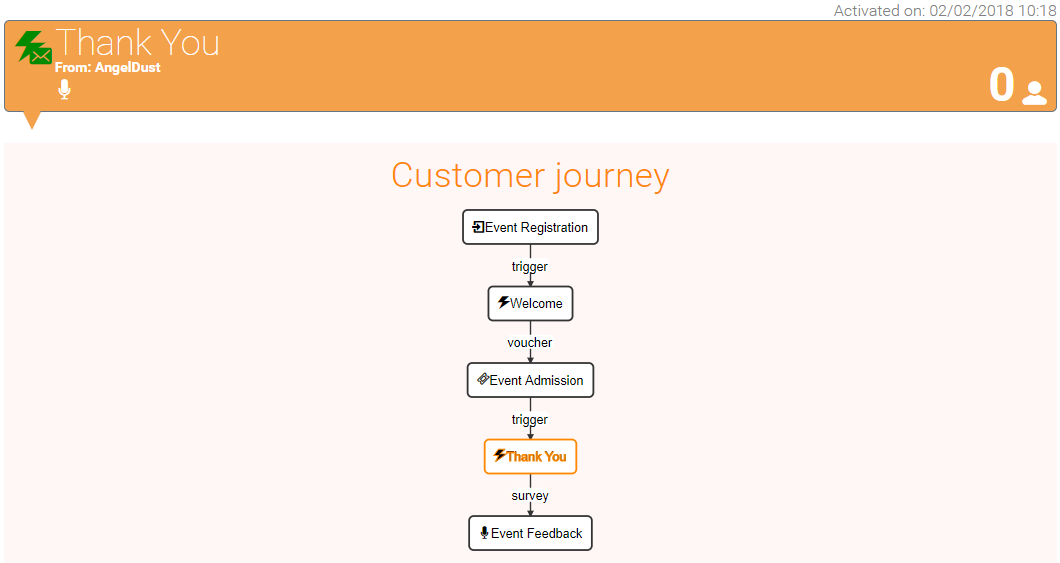
The Thank You Email Campaign Report and the Customer Journey, so far, are the following
Set up the Closure Email
1. Navigate to the Campaigns page
2. Click on the Event Email Campaign tile
and set up the Closure Email
3. Choose as Contact event the Event Feedback survey
4. Add a Voucher Tag to your message and select the discount Voucher
As a result when the customer submits the Event Feedback survey then Tellody automatically sends her the Closure Email with the discount Voucher for future use, attached
5. Create the Campaign
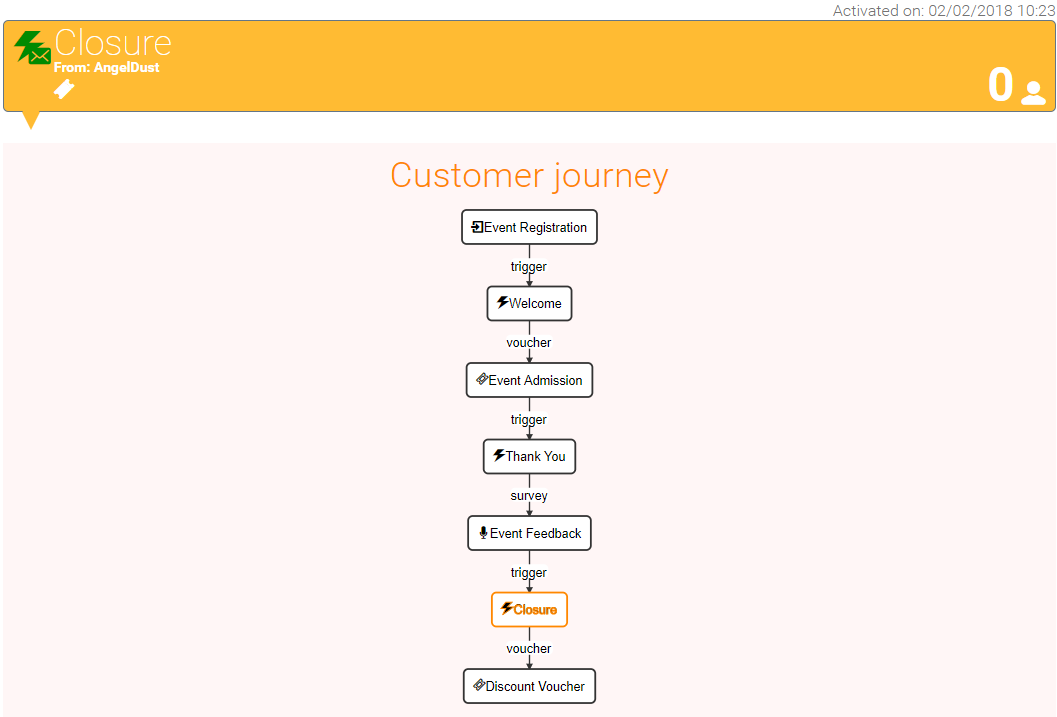
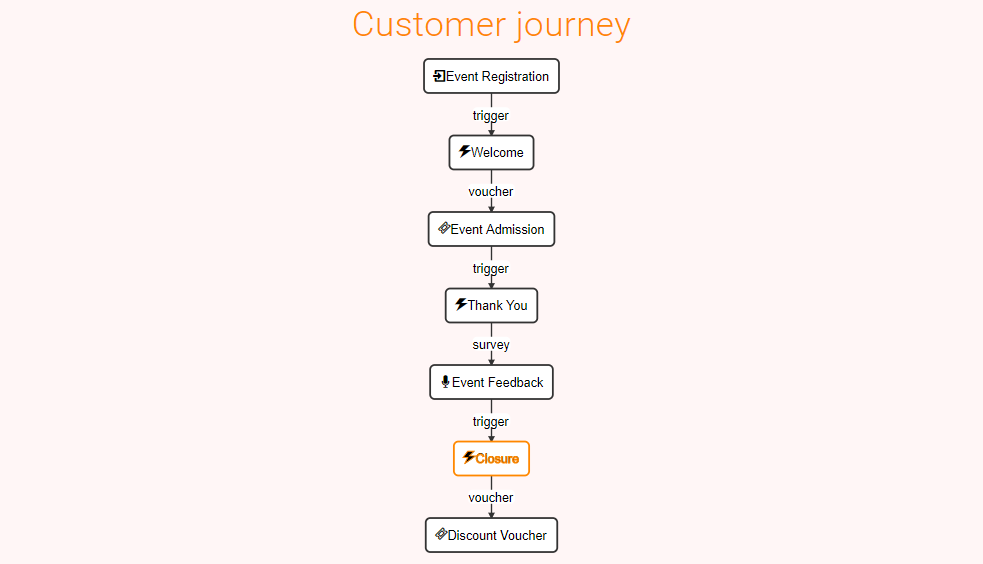
The Closure Email Campaign Report and the complete Customer Journey are the following
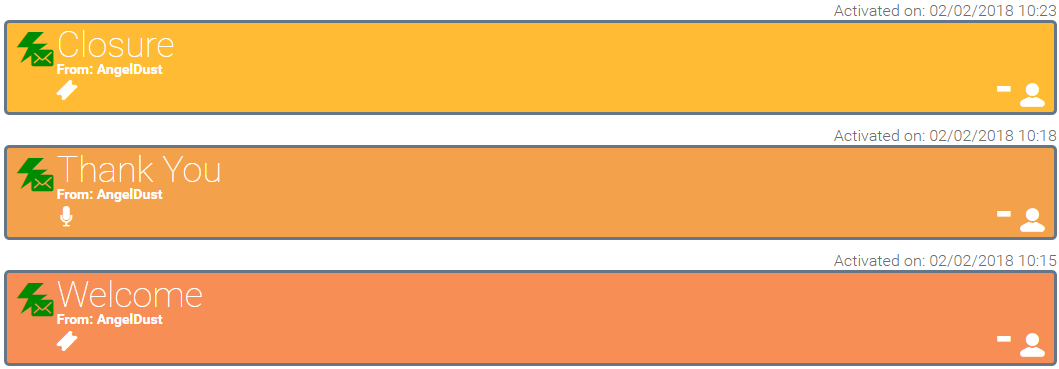
Your Campaigns Page now will look like this
View the Instant Win Customer Journey
Click on one of the Summary balloons of the associated Campaign and Services Reports; balloon will expand and present a visual representation of the Instant Win Coustomer Journey
Click on the Customer Journey button during Campaign Set Up and view the temporal version of your Customer Journey
Here is the final configured Event Registration Coustomer Journey
